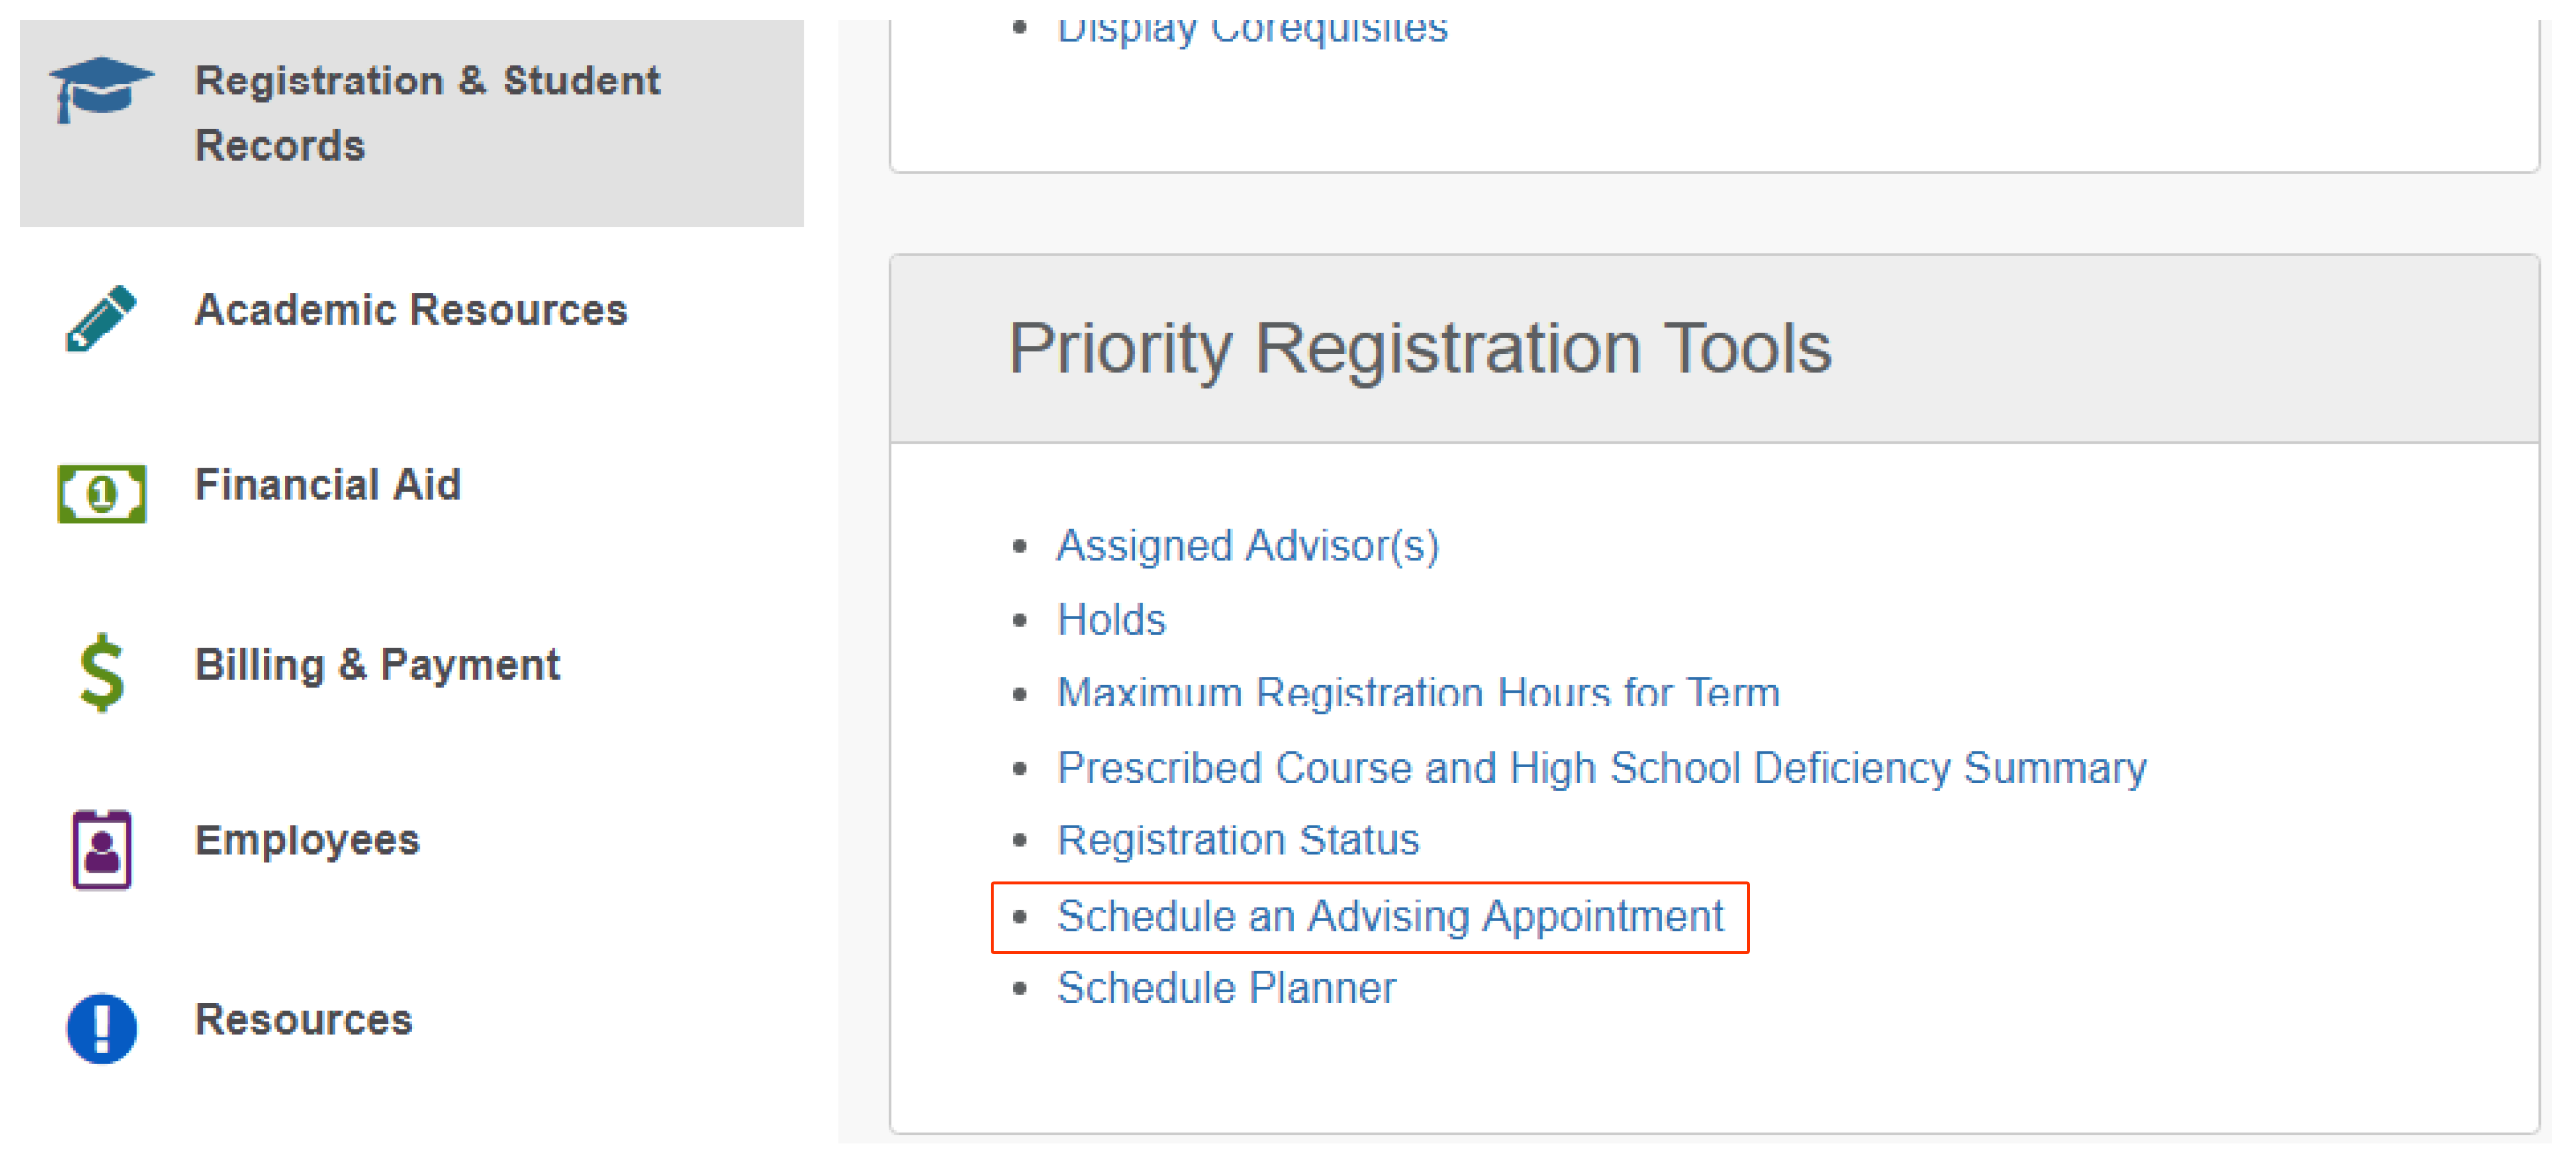
Schedule an Advising Appointment
- Log into Navigate using your Pipeline credentials. You can also find the "Schedule an Advising Appointment"
link in Pipeline's Registration and Student Records page.
- On the Navigate Homepage, click on the blue "Schedule an Appointment" button found
at the top right of the page.

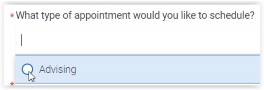
- Choose Advising as the appointment type.
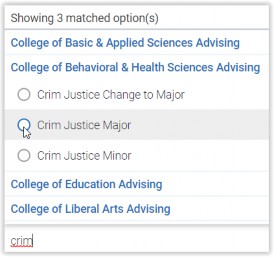
- Click on the box under Service and start typing your major (or minor if applicable)
to see possible options. Choose the option that best fits you.
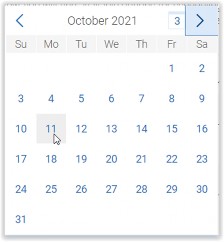
- Choose a date, or leave the date as-is to search for the earliest possible appointments.
- Click the blue “Find Available Time” button.

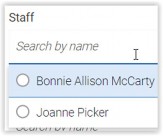
- If you see more than one person listed in the Staff box, choose the applicable advisor.
(Tip: Visit the Academic Advising website; click on your college then on “Who is my advisor” to find your assigned advisor.)
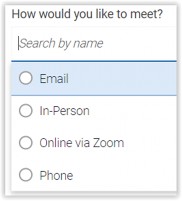
- Choose how you would like to meet
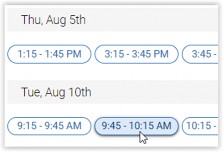
- Choose an appointment day and time from the list on the right. Click on a time bubble
to select that appointment slot.
- Carefully read any notes from your advisor in the Details section. In the comments
box, provide any info they requested, along with any additional info that may be helpful
as they prepare for your appointment.

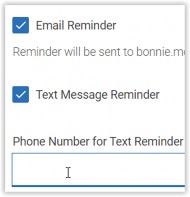
- Mark whether you want an email and/or text reminder; add your cell phone number if
applicable. (Tip: Your advisor will not receive this info. Be sure to provide any contact info in the comments box also!)
- Click the blue Schedule button to schedule the appointment then watch for a confirmation
email to verify that it went through.

![]()
![]()
Download the MTSU Mobile App

