Software Instructions
Free Creative Cloud tools offered to students through May 31, 2020 (no longer available free)
Adobe is giving higher education and K-12 institutional customers globally — who currently make Creative Cloud apps available to students who login through on-campus labs — the ability to request temporary “at-home” access for their students and educators. This will be granted through May 31, 2020 at no additional cost
Instructions
- Visit https://creativecloud.adobe.com. and use your MTSU email address to sign in.
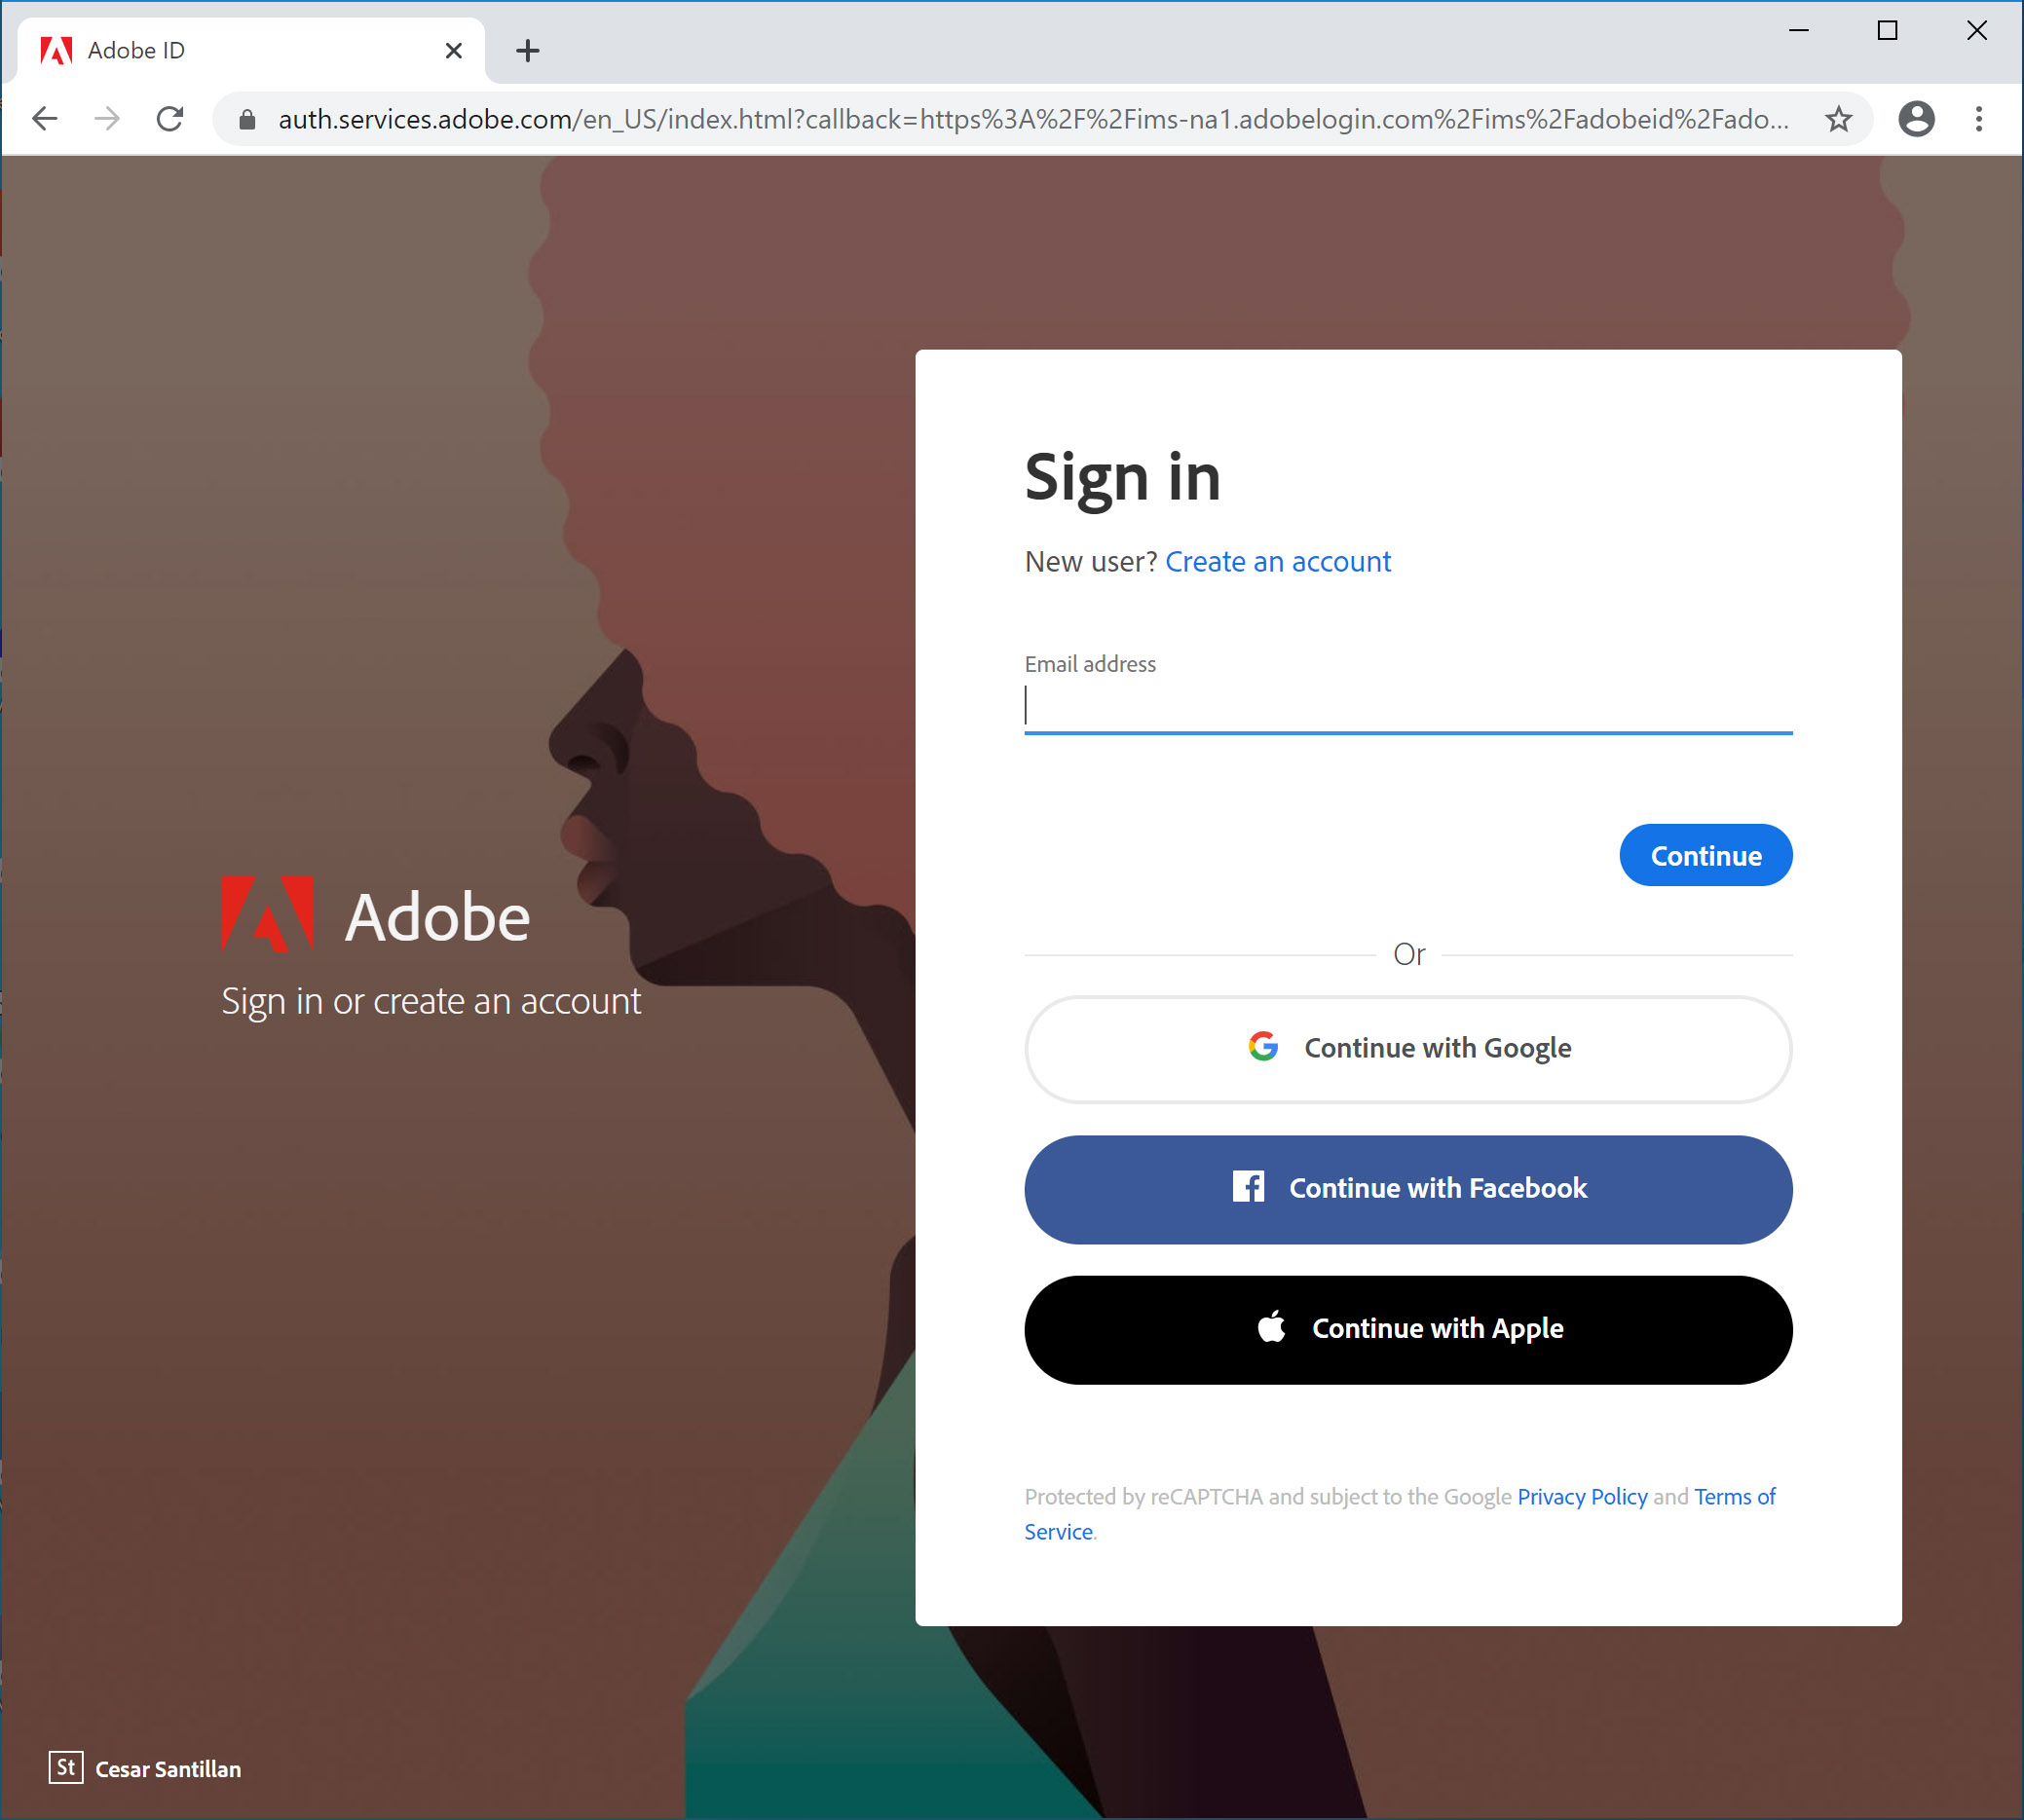
- Enter your email address and click “Continue”.
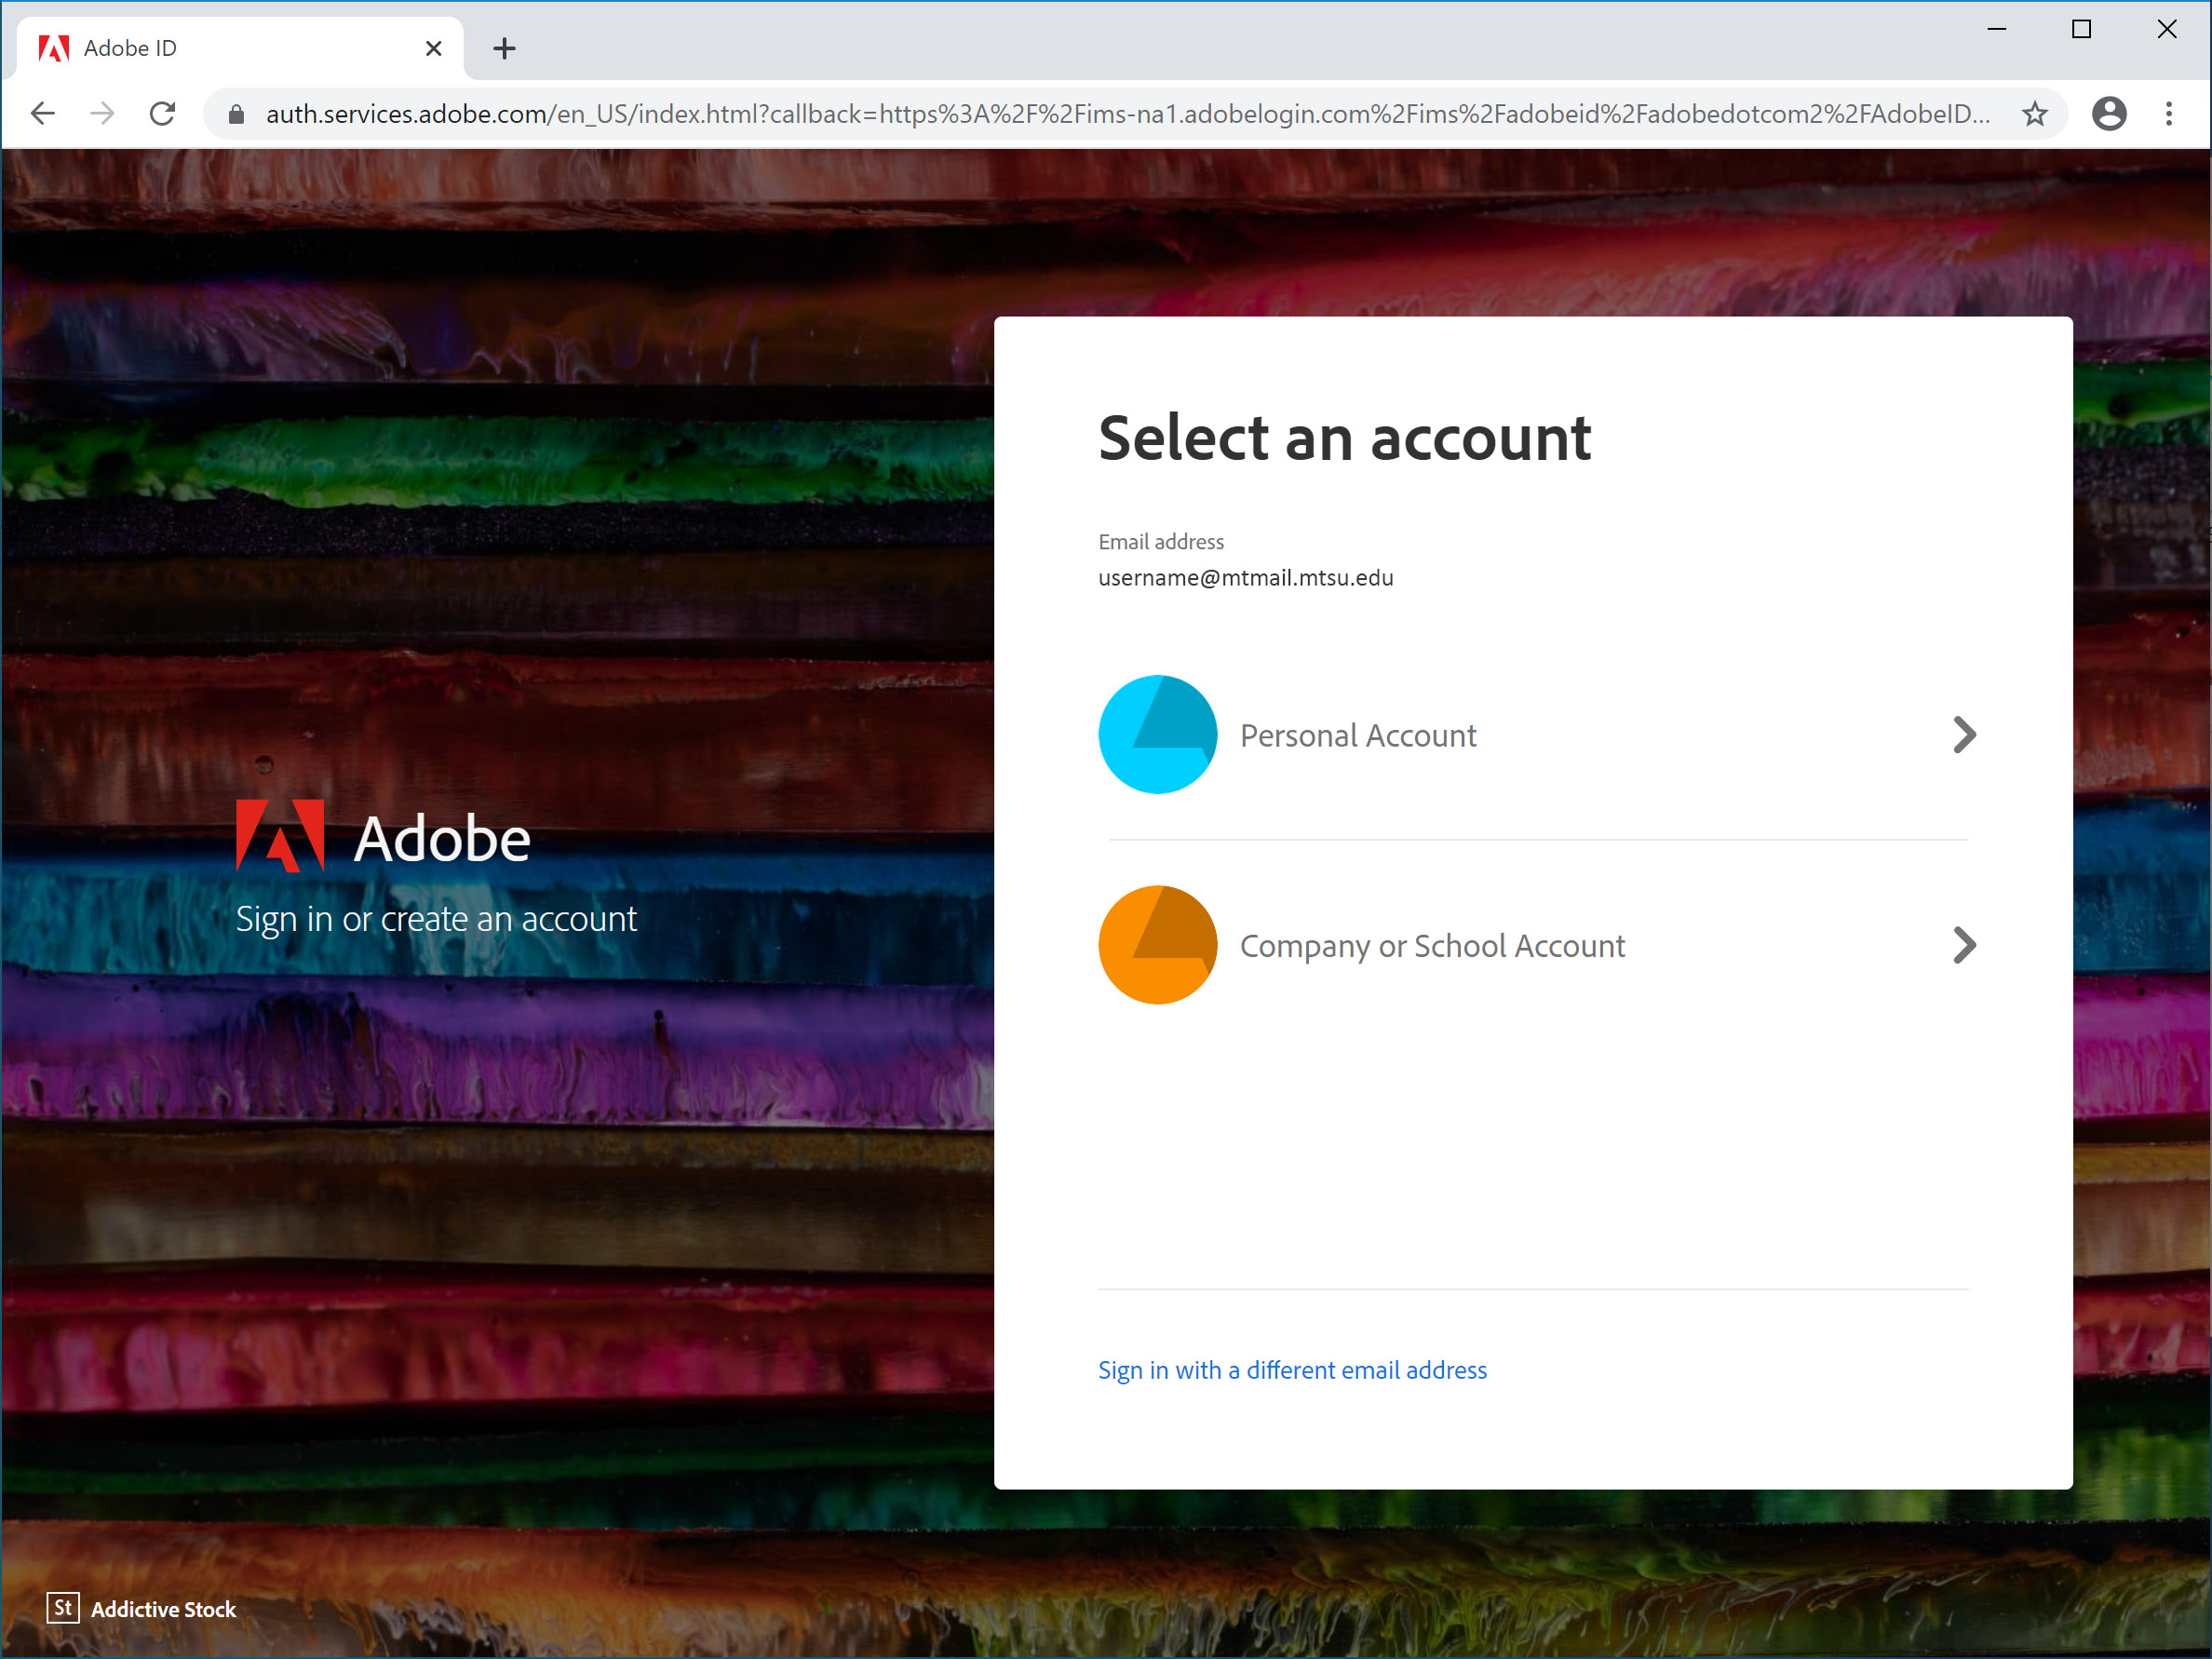
- If you have created an Adobe ID with your current student email address, you will
be prompted to choose which account you are attempting to access. If you would like
to continue using your personal Adobe account, choose Personal Account. If you would like to use your newly created MTSU account, choose Company or School Account.
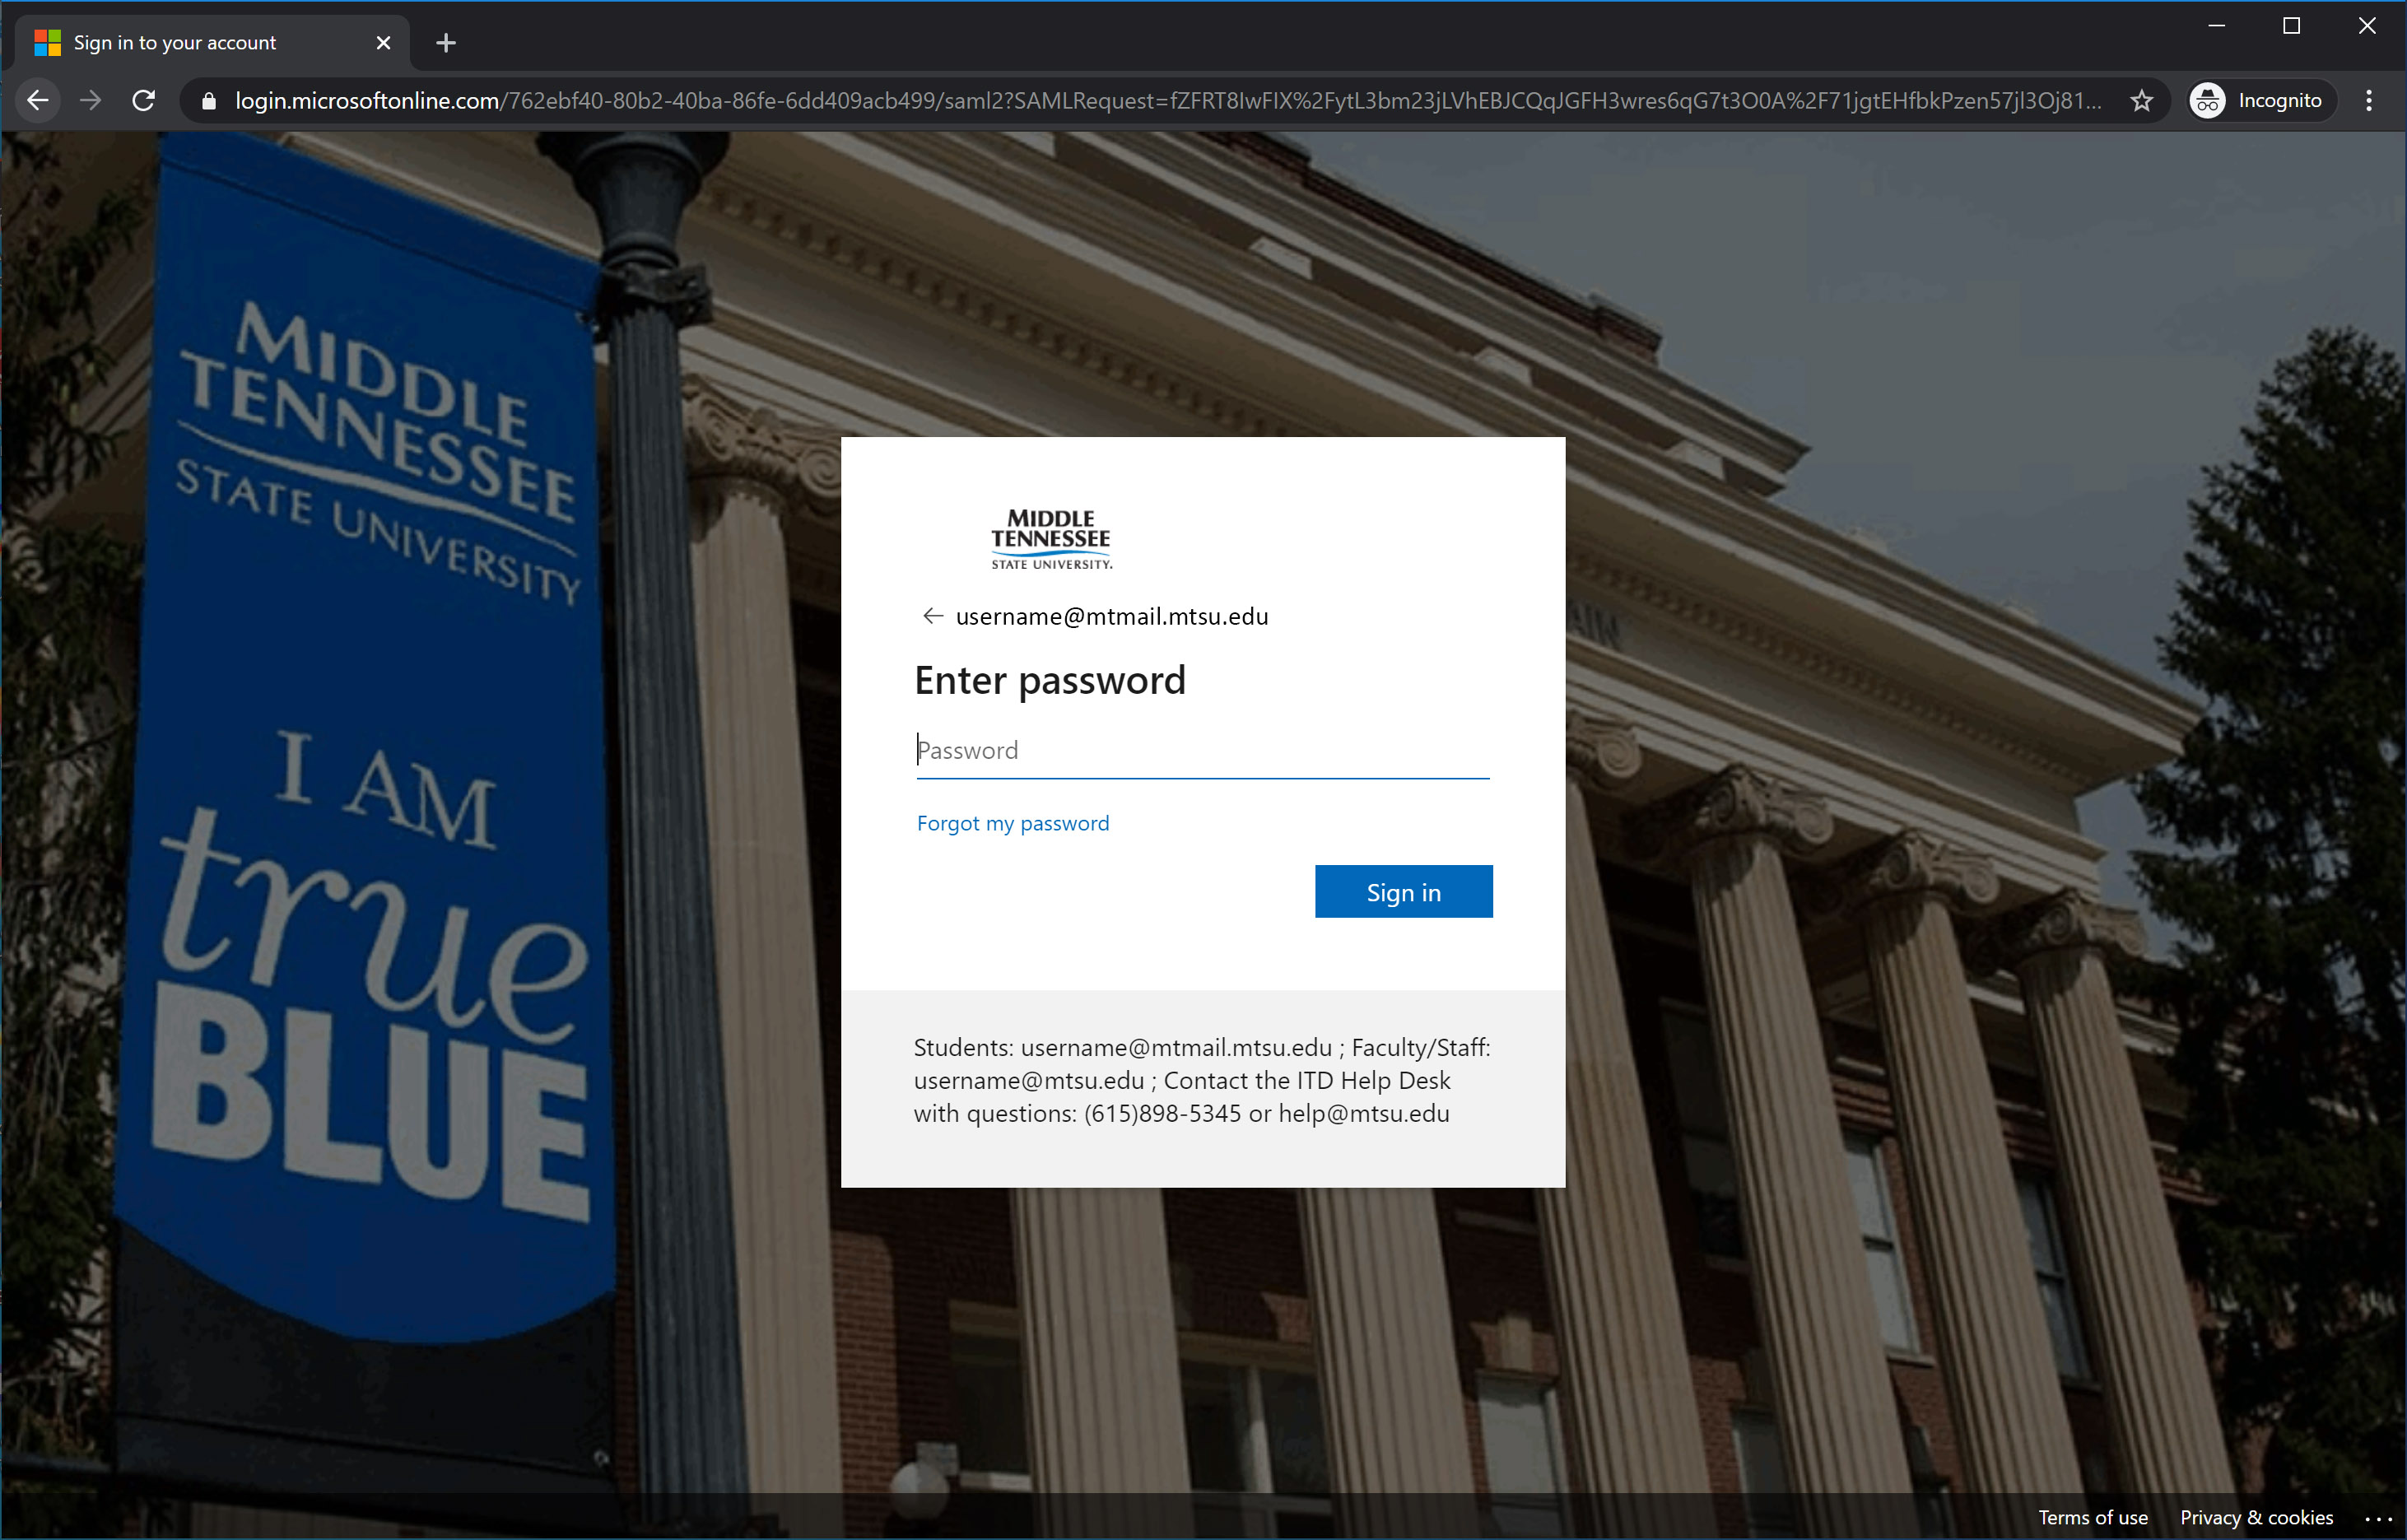
- If you receive the MTSU Single Sign On page, enter your username and click “Next”.

- Enter your password and click “Sign in” to continue.
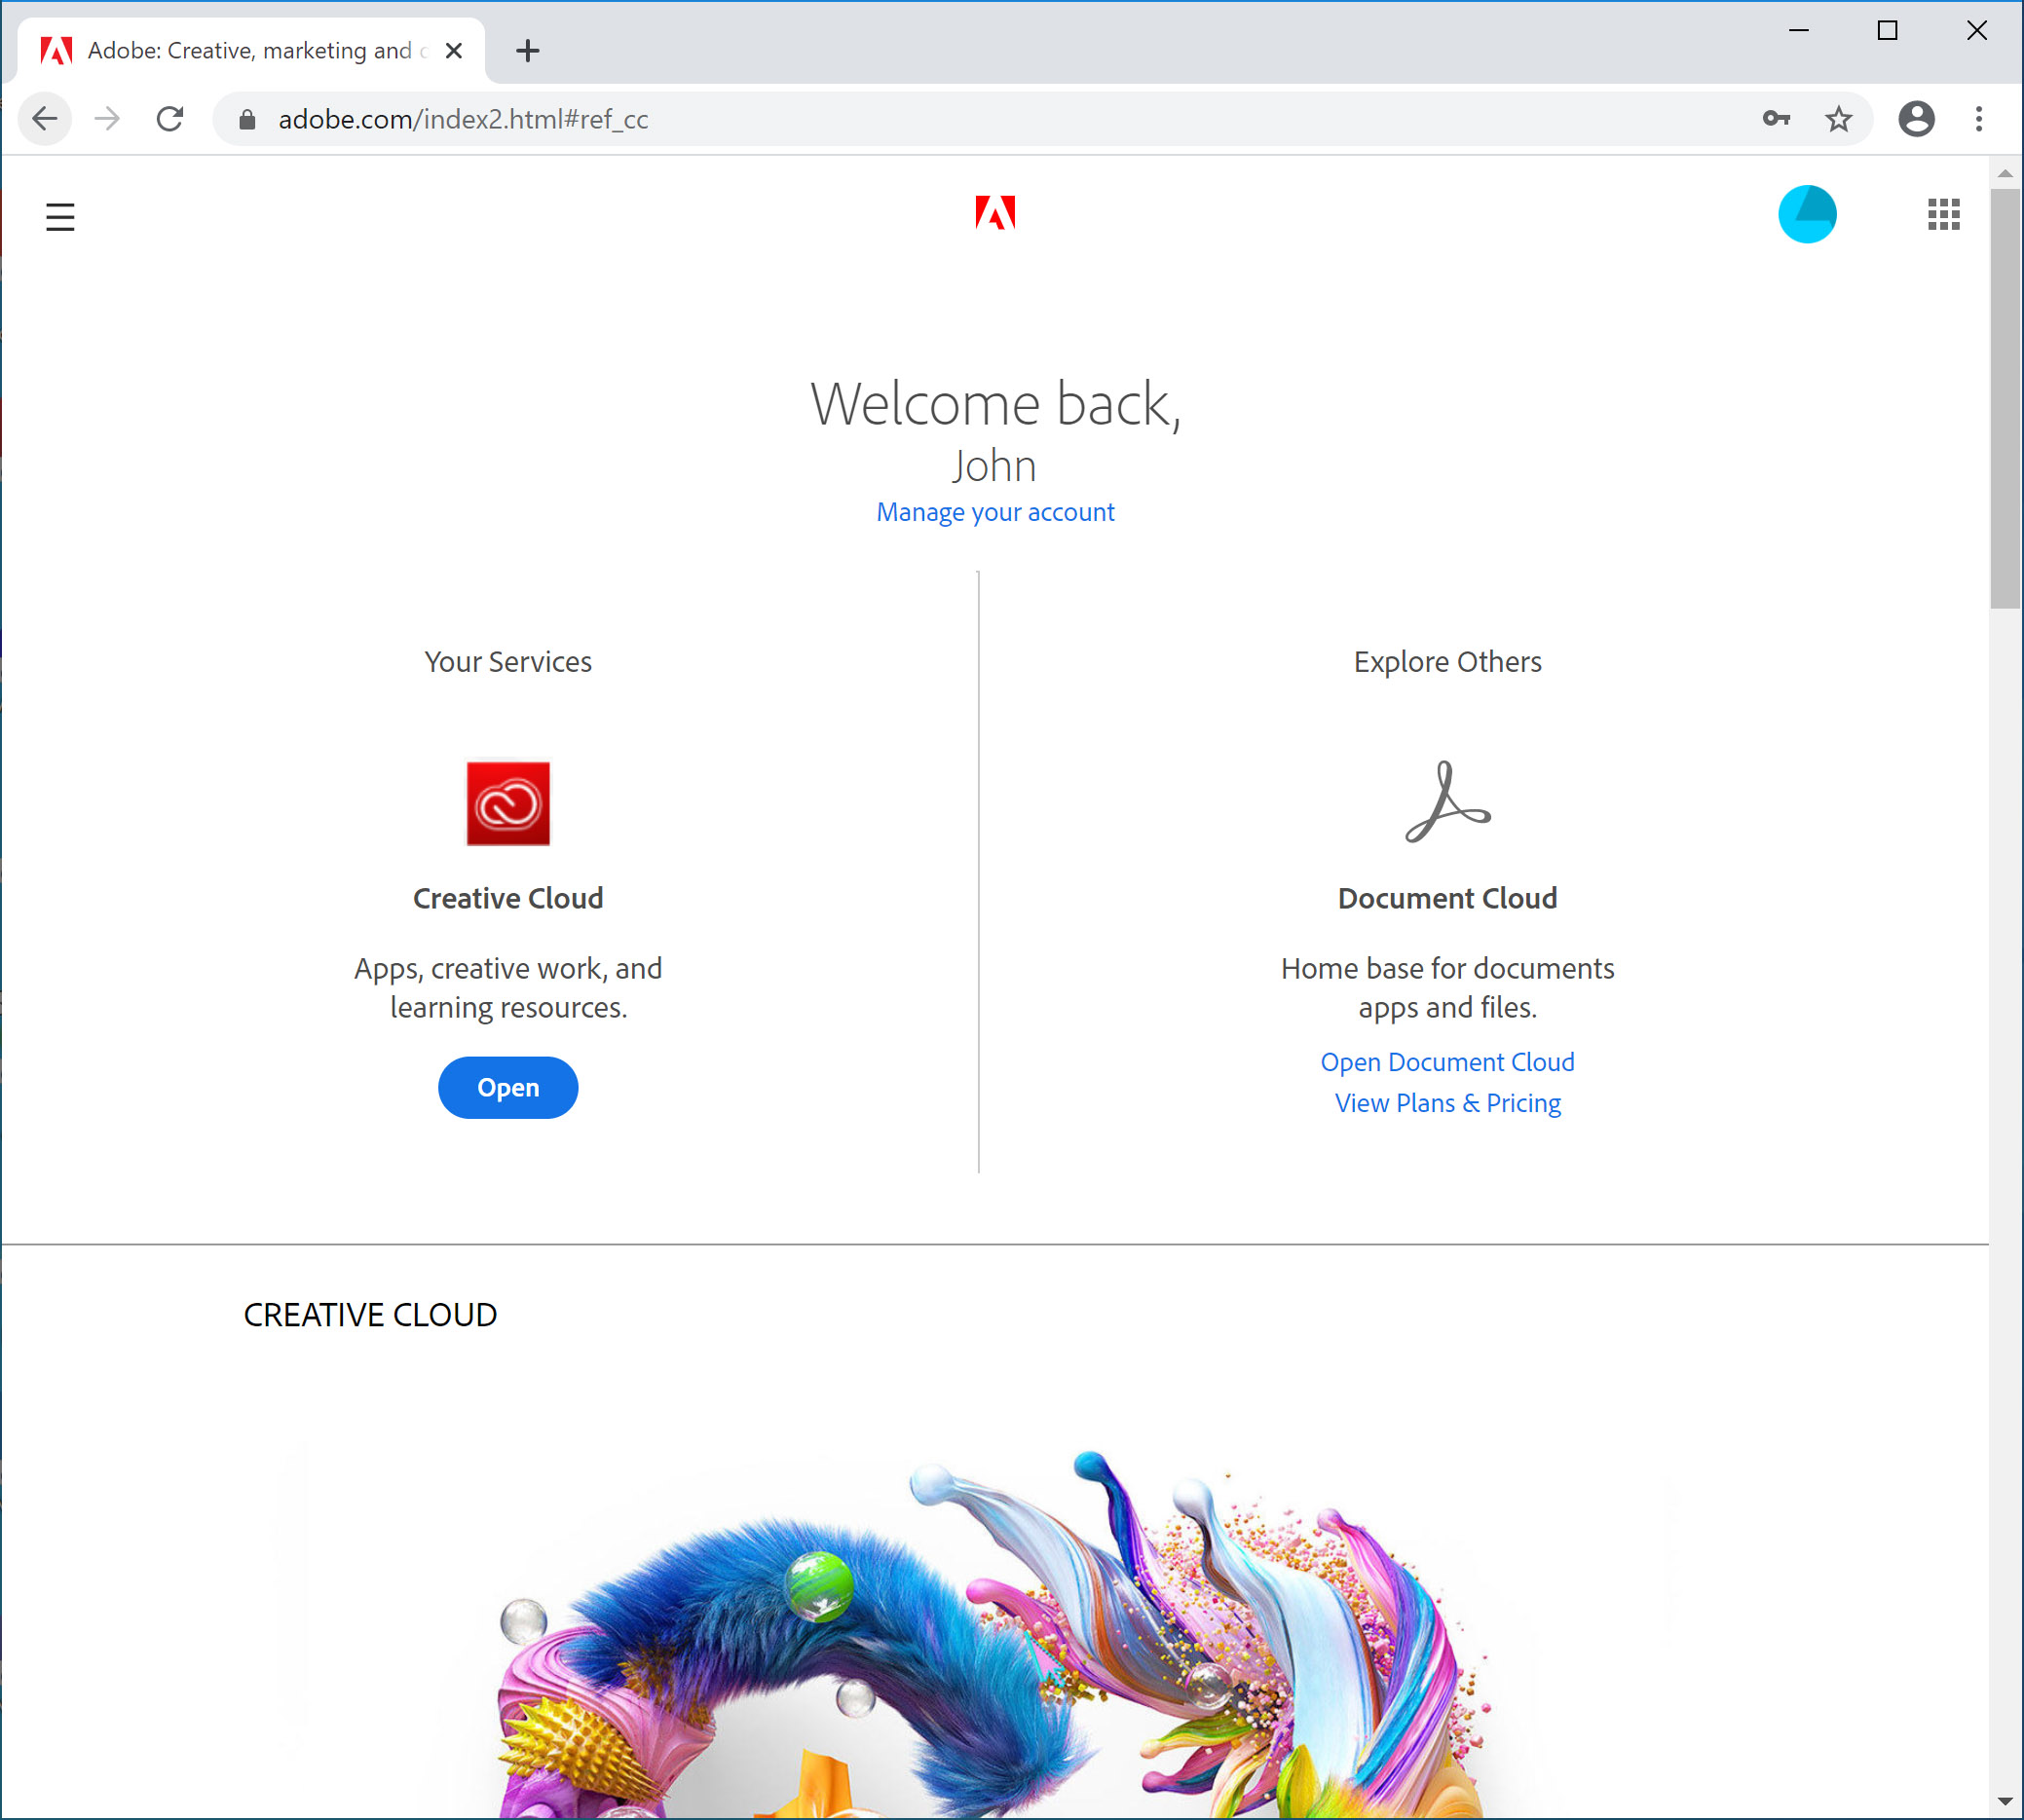
- Once authenticated, you should see the Adobe landing page. Click on the “Open” button beneath Creative Cloud to continue.
- You will find a listing of desktop apps that are available for install. Clicking “All your apps” will present a complete list of applications that can be installed. These apps are
available for Windows and Mac OS only.
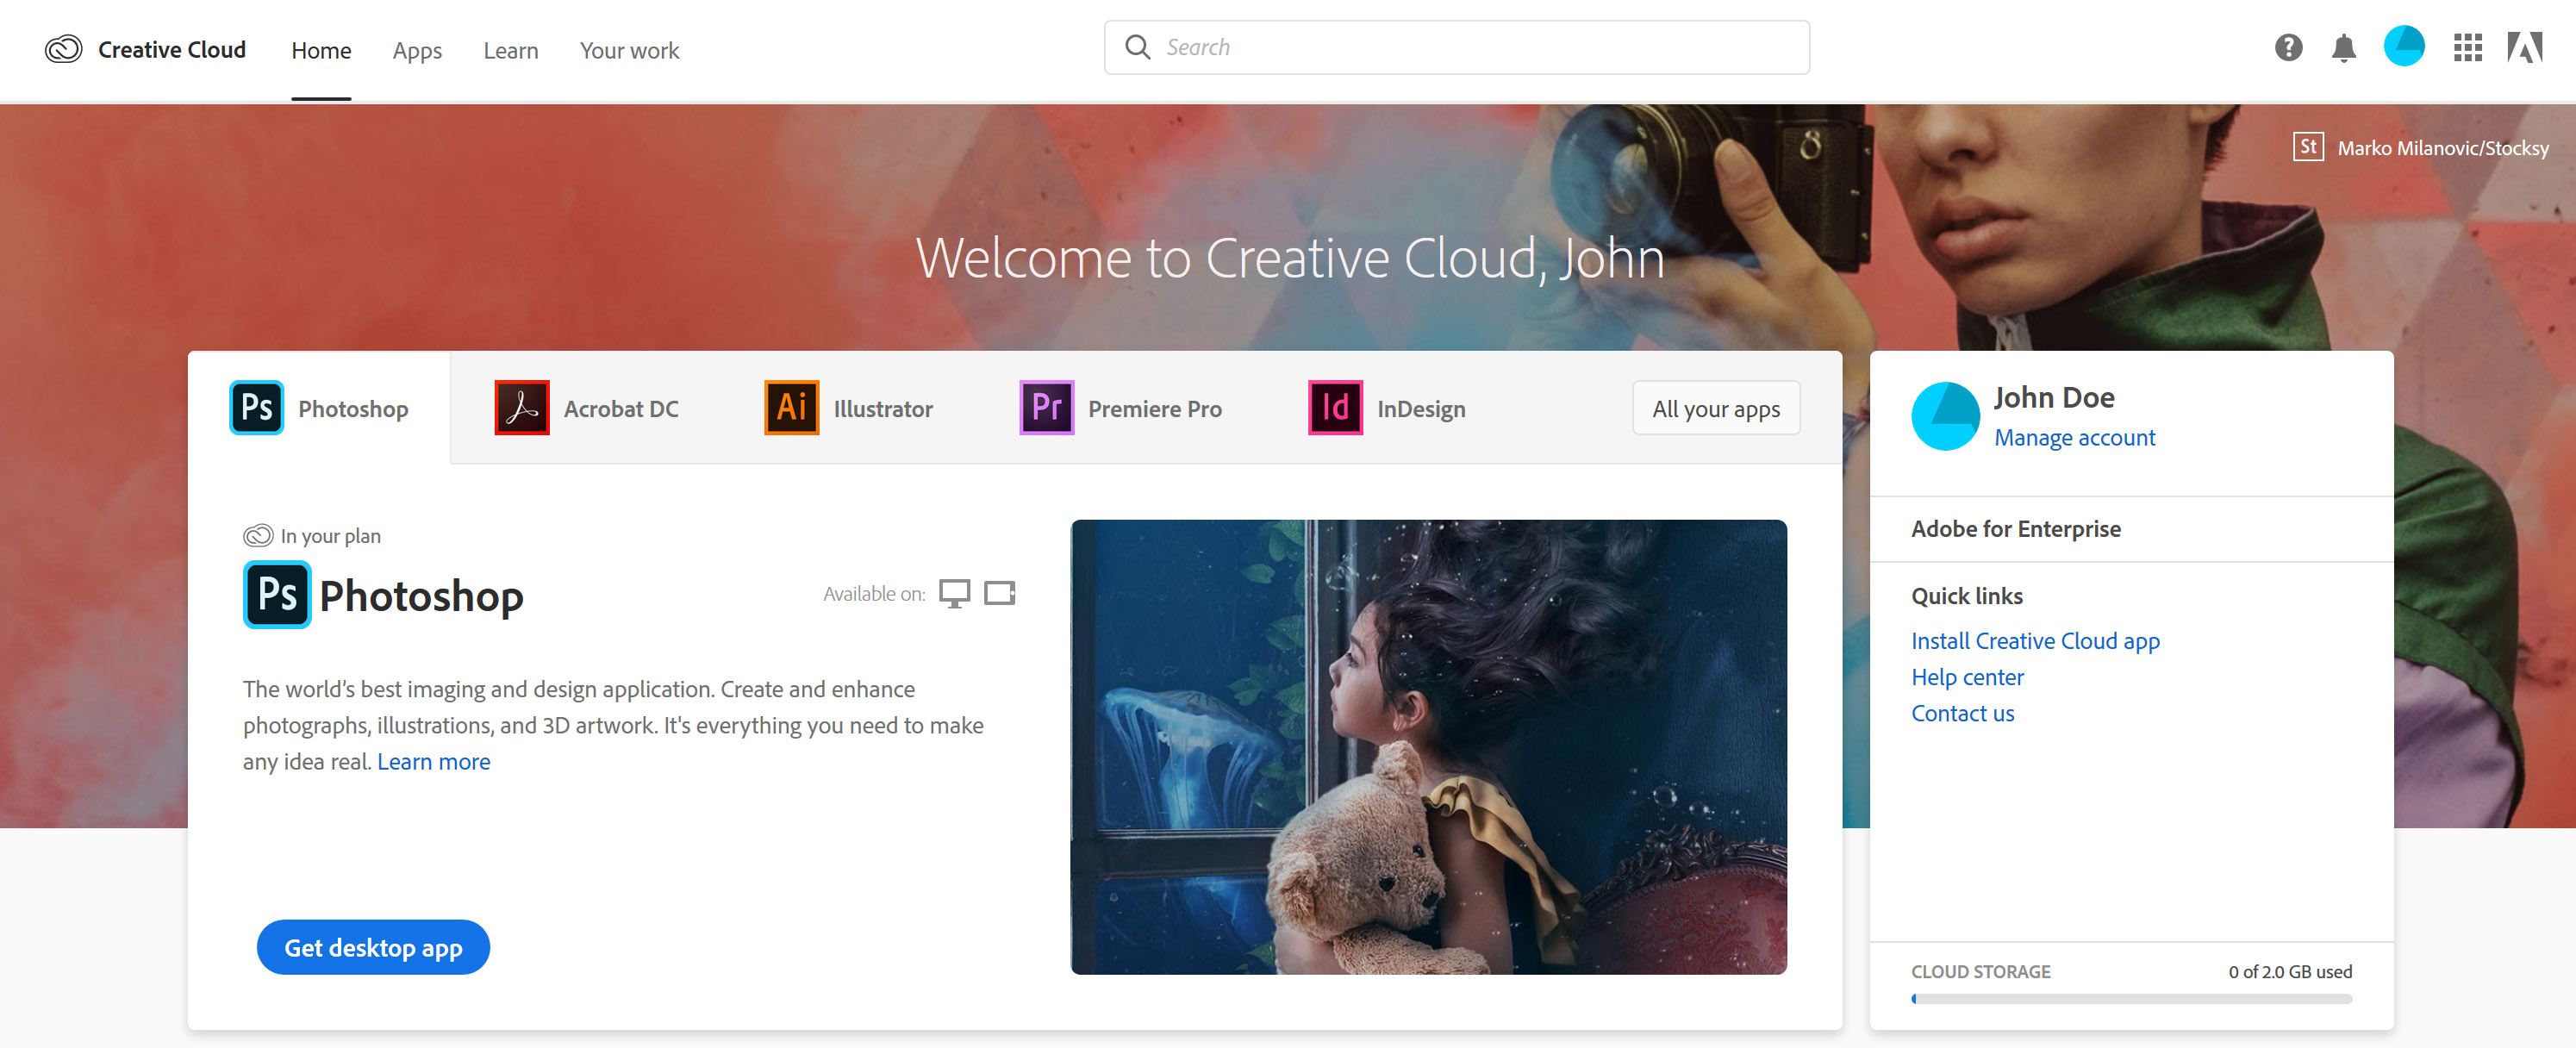
- Scroll down to find an application you wish to install and click on the “Install” button to continue.
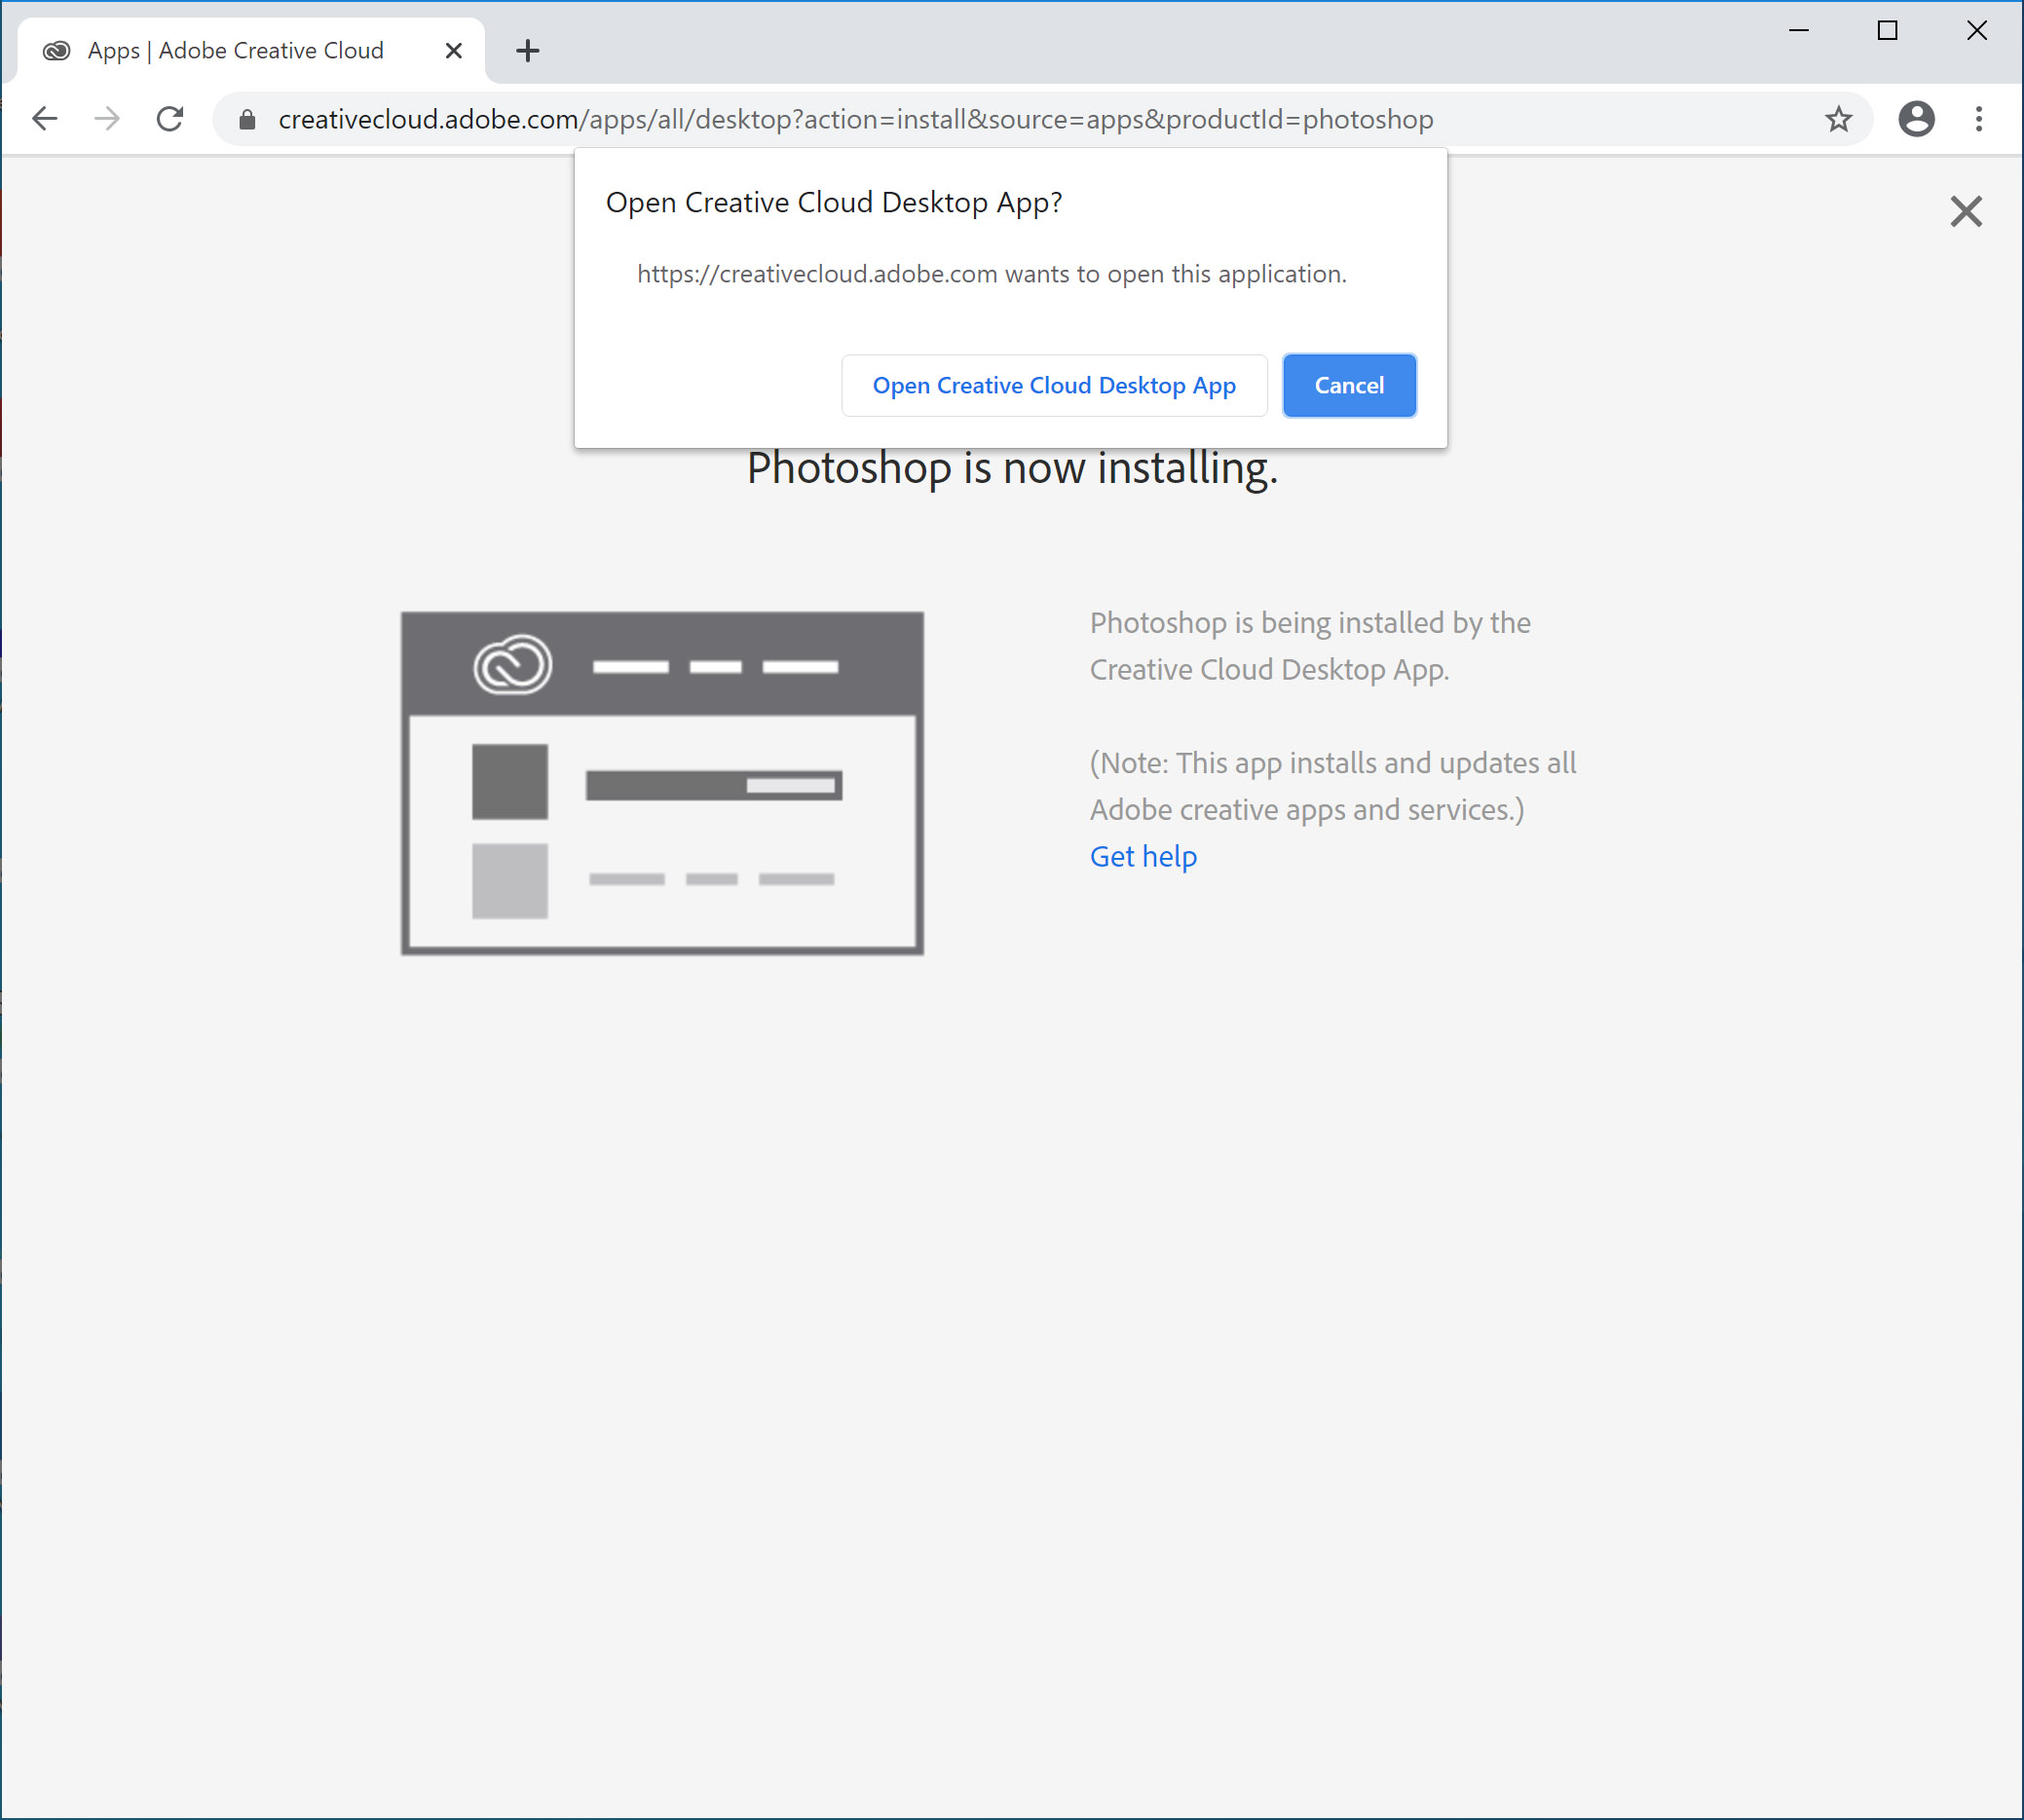
- If you are installing Creative Cloud for the first time, it may prompt you to either
install or open the Creative Cloud Desktop App. Click the appropriate button to continue.
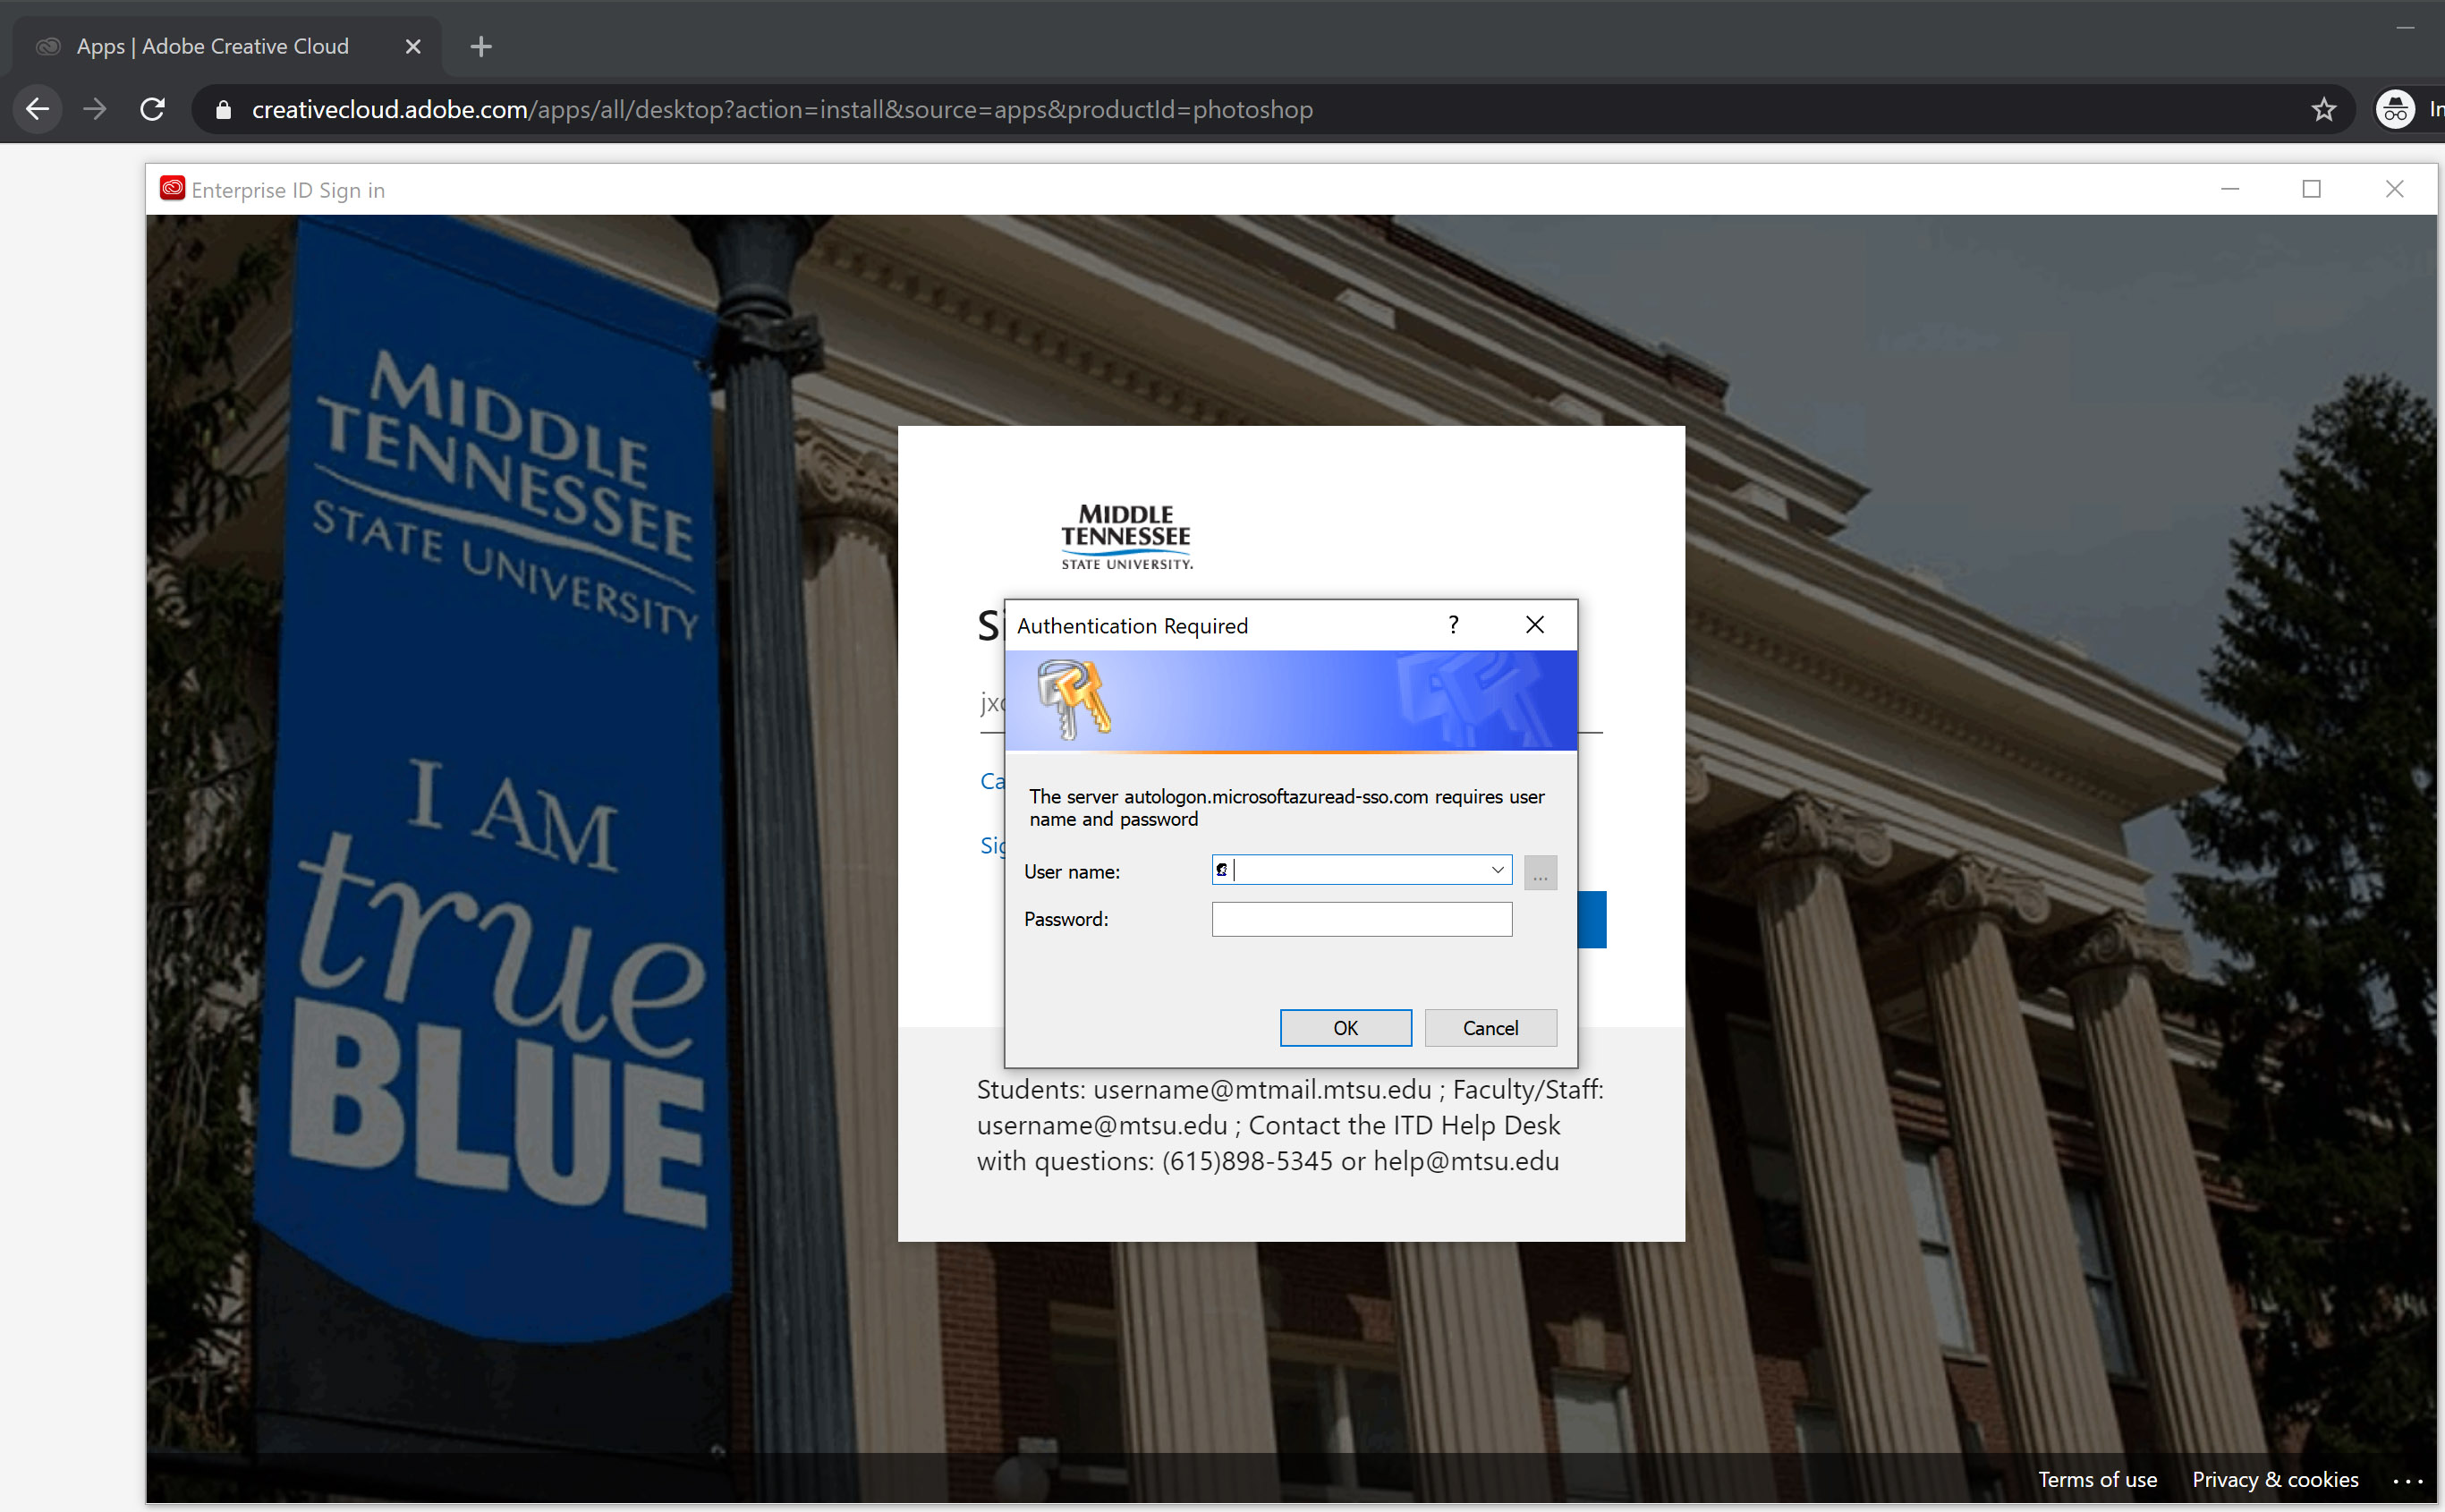
- You may be prompted to provide your username/password to continue. If you receive
an Authentication Required pop-up window, click “Cancel” and enter your credentials to proceed.
- Installation should now continue and the Creative Cloud desktop app will open.
SSPS Citrix Installation
- Download and install the Citrix Workspace app for your platform at https://www.citrix.com/downloads
- In the Select a product… drop down box, select Citrix Workspace app
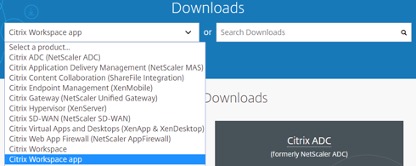
- Download the Citrix Workspace App installer to your device
- In the Select a product… drop down box, select Citrix Workspace app
- Navigate to the downloaded file and open it
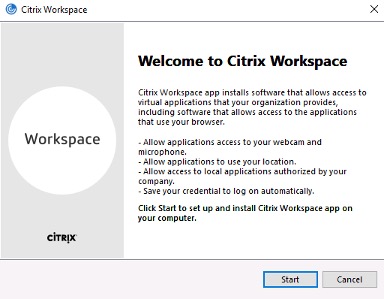
- Click on “Start” to begin the installation process
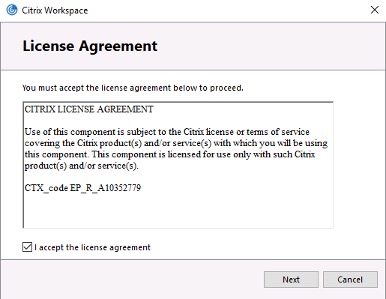
- Check the “I accept the license agreement” check box and click Next
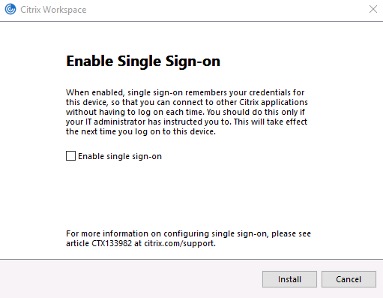
- Do not check the “Enable single sign-on” check box and click Install
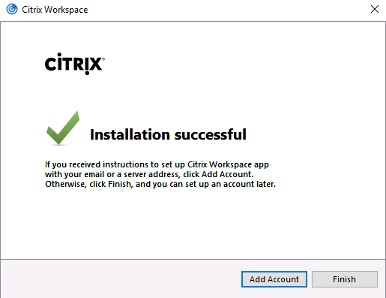
- After installation completes, click the “Add Account” button
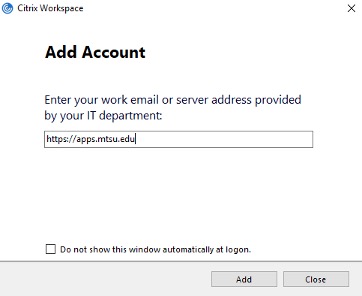
- Enter https://apps.mtsu.edu for the server address and click the “Add” button
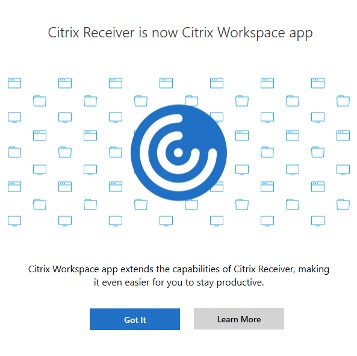
- If presented with the following prompt, click “Got It”
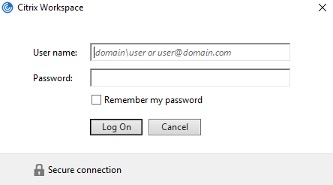
- Enter your MTSU user name (e.g. jxd2a@mtsu.edu or jxd2a@mtmail.mtsu.edu) and password
- Click the Log On button
- Click the Log On button
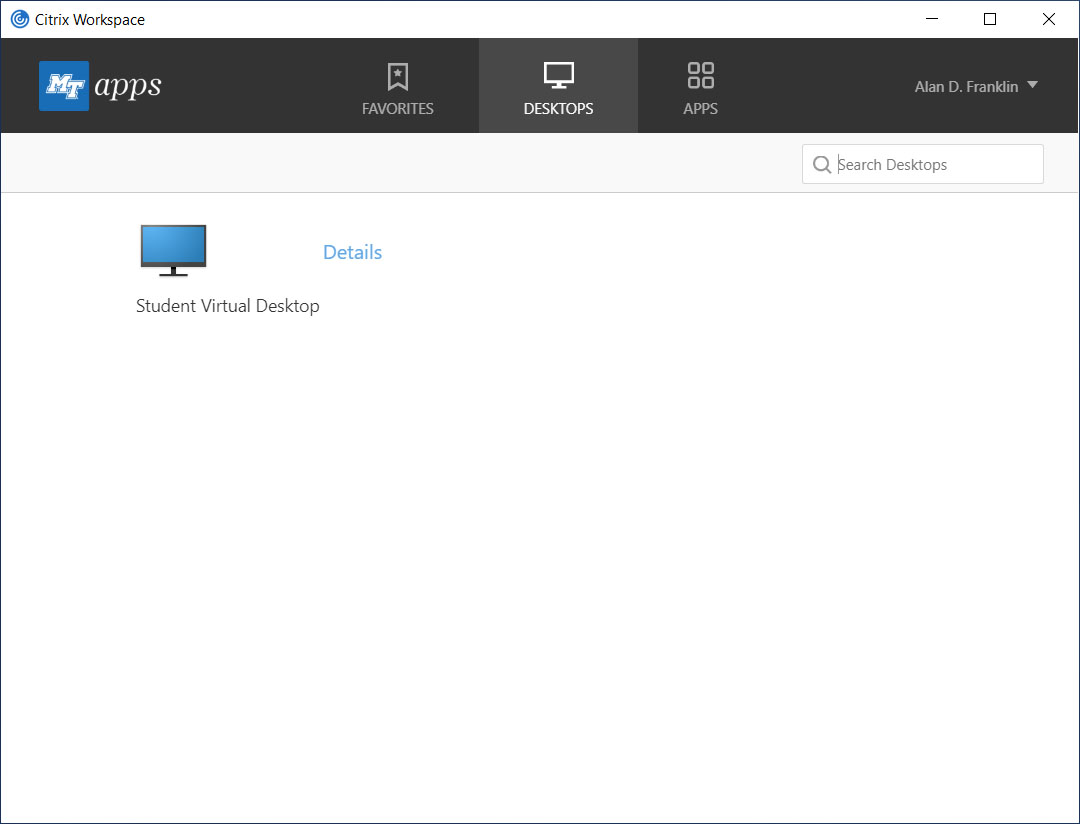
- Click the “Desktops” option in the top of the Workspace App
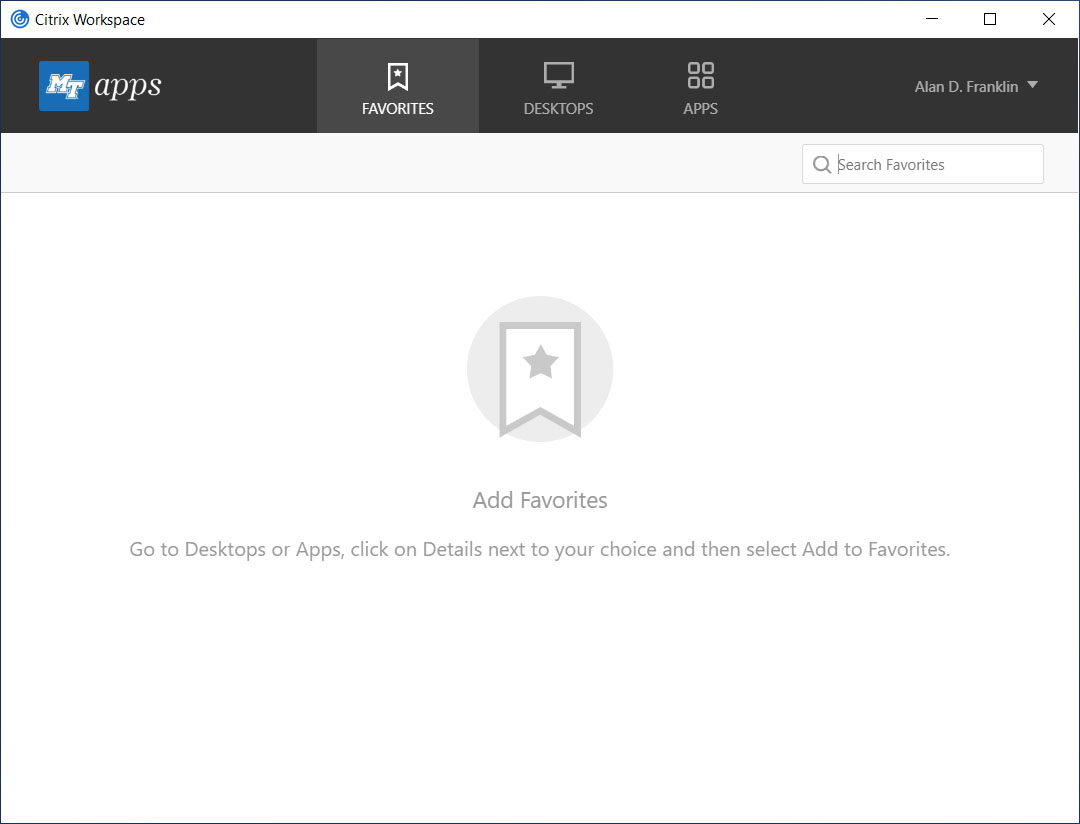
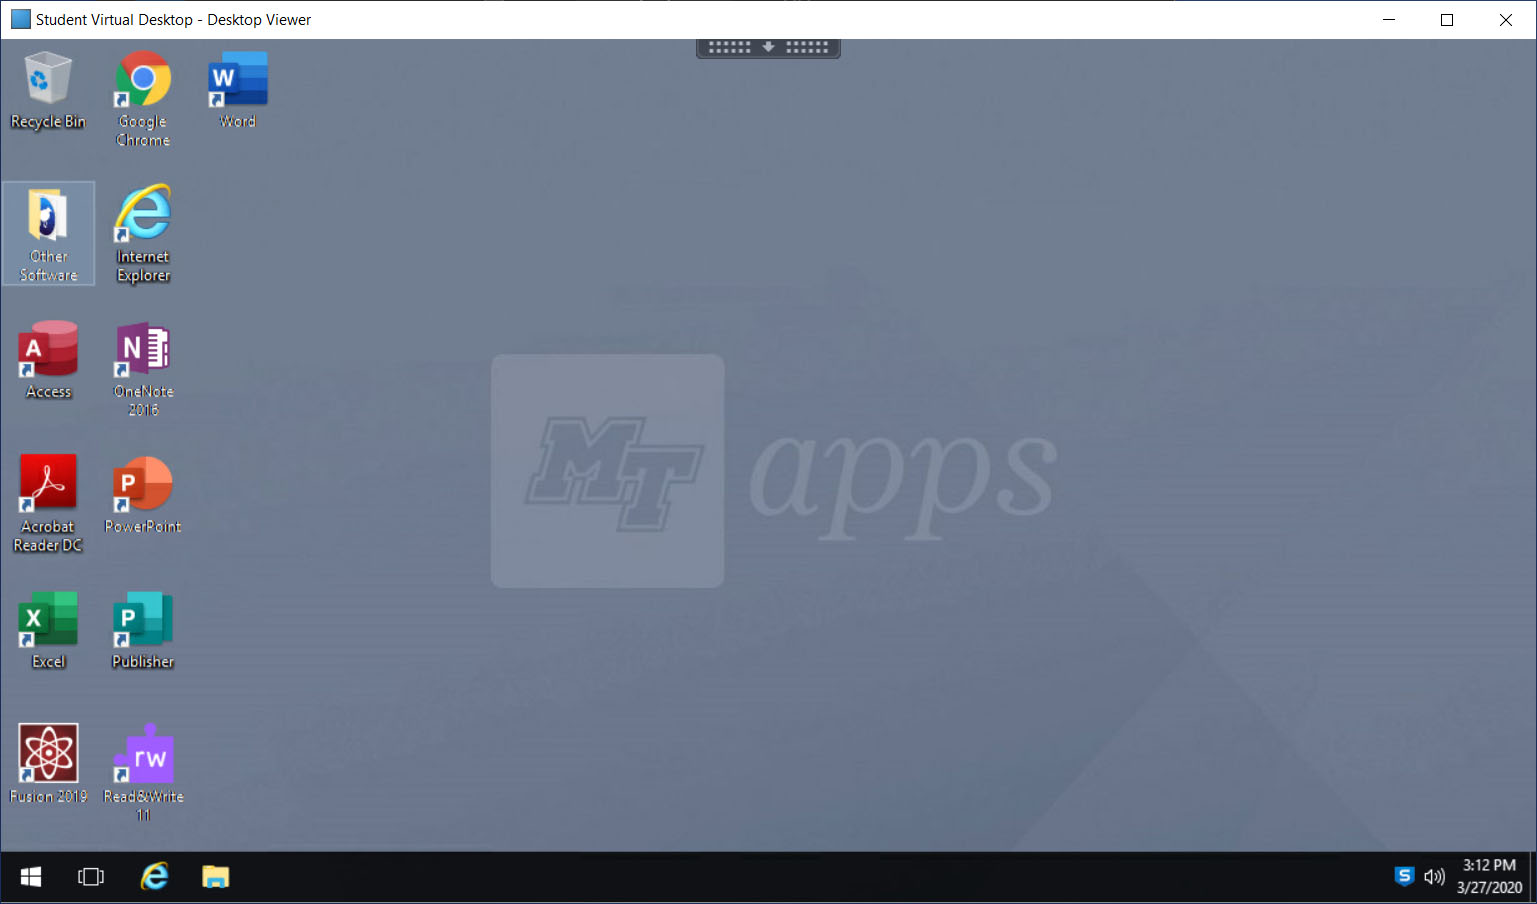
- Click the “Student Virtual Desktop” icon
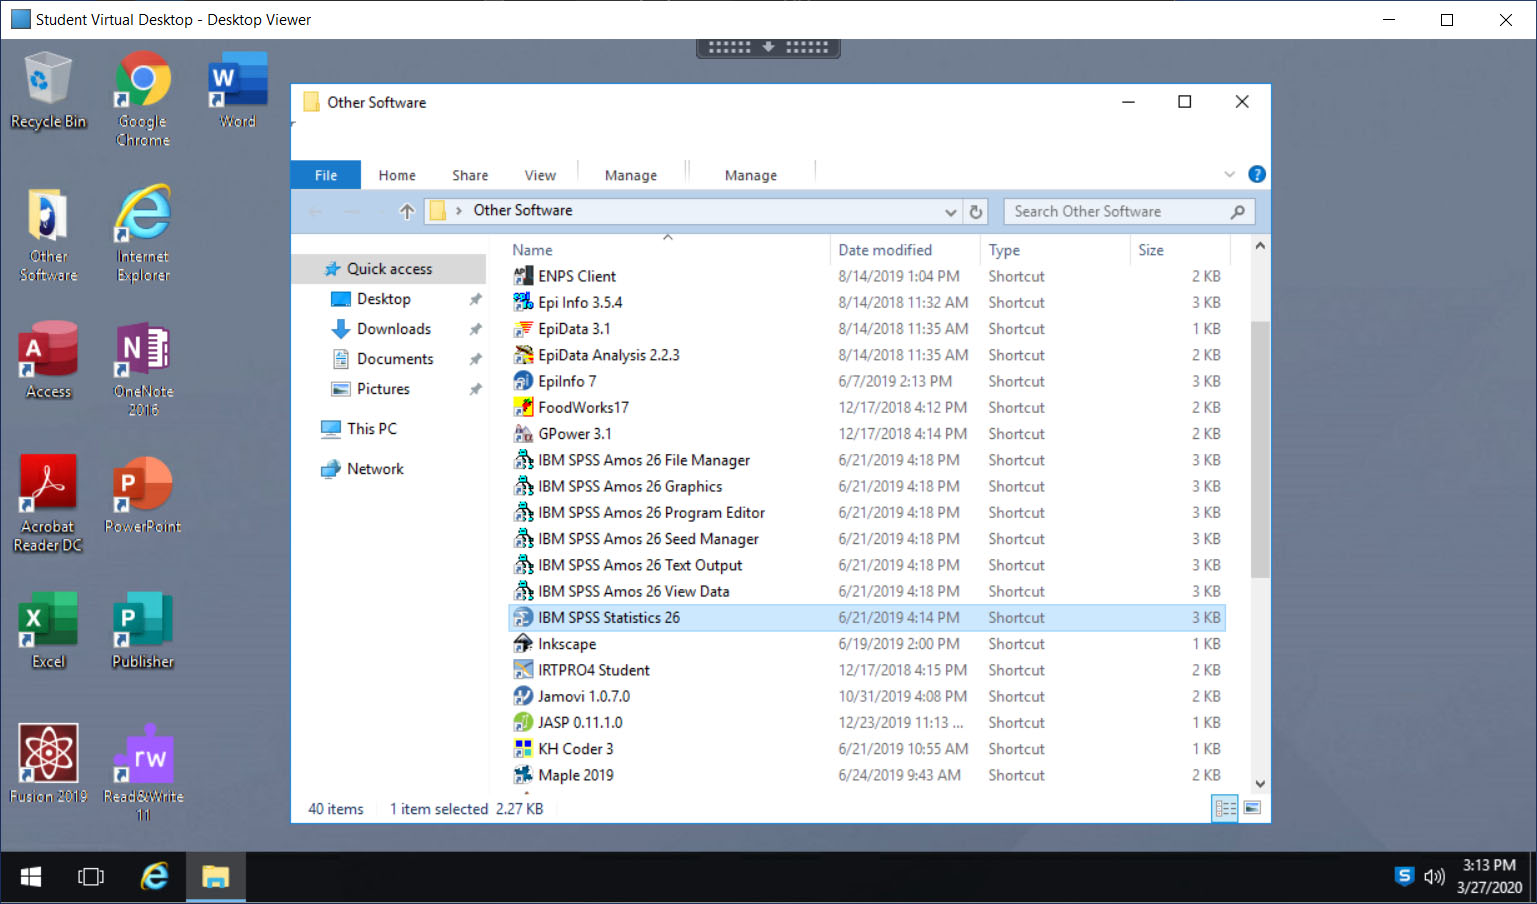
- Open the folder on the Desktop entitled “Other Software”
- Open the appropriate SPSS program
- When you are finished with your session, click the tab at the very top middle of the
screen and click “Disconnect”
Add right column content here

